Showing posts with label Crafts. Show all posts

1.24.2017

Man Candles Ready To Go

I finally around to some more candle making. The material is cheap, and the finished product is nice. This set is a soy wax, with different shades of blue, scented with "fresh rain" or "ocean breeze". I have these listed on Ebay, but I think I may burn one for myself.


Here is the link to the current listing HERE

Of course once these sell, I will make more so feel free to leave me a message or comment below!

12.05.2016

First Woodburning Attempt


I'm not totally happy with this but it was my first try. It is far from perfect but I'll keep practicing


11.24.2016

Dealing With Creative Blocks

Sometimes the creative block hits me. What I mean is that no matter how much I want to create something, the juices aren't flowing and the process is slowed. My best strategy is to just workthrough it . Not every day is a great creative day. But waiting for the right moment is unpredictable.


Free Twitter Followers

So what do I do in those moments? Make something anyway. That next project may suck but it's the same as training through injuries and fatigue. Eventually things will fall into place.
Have a hot cider and rum in the meantime


11.02.2016

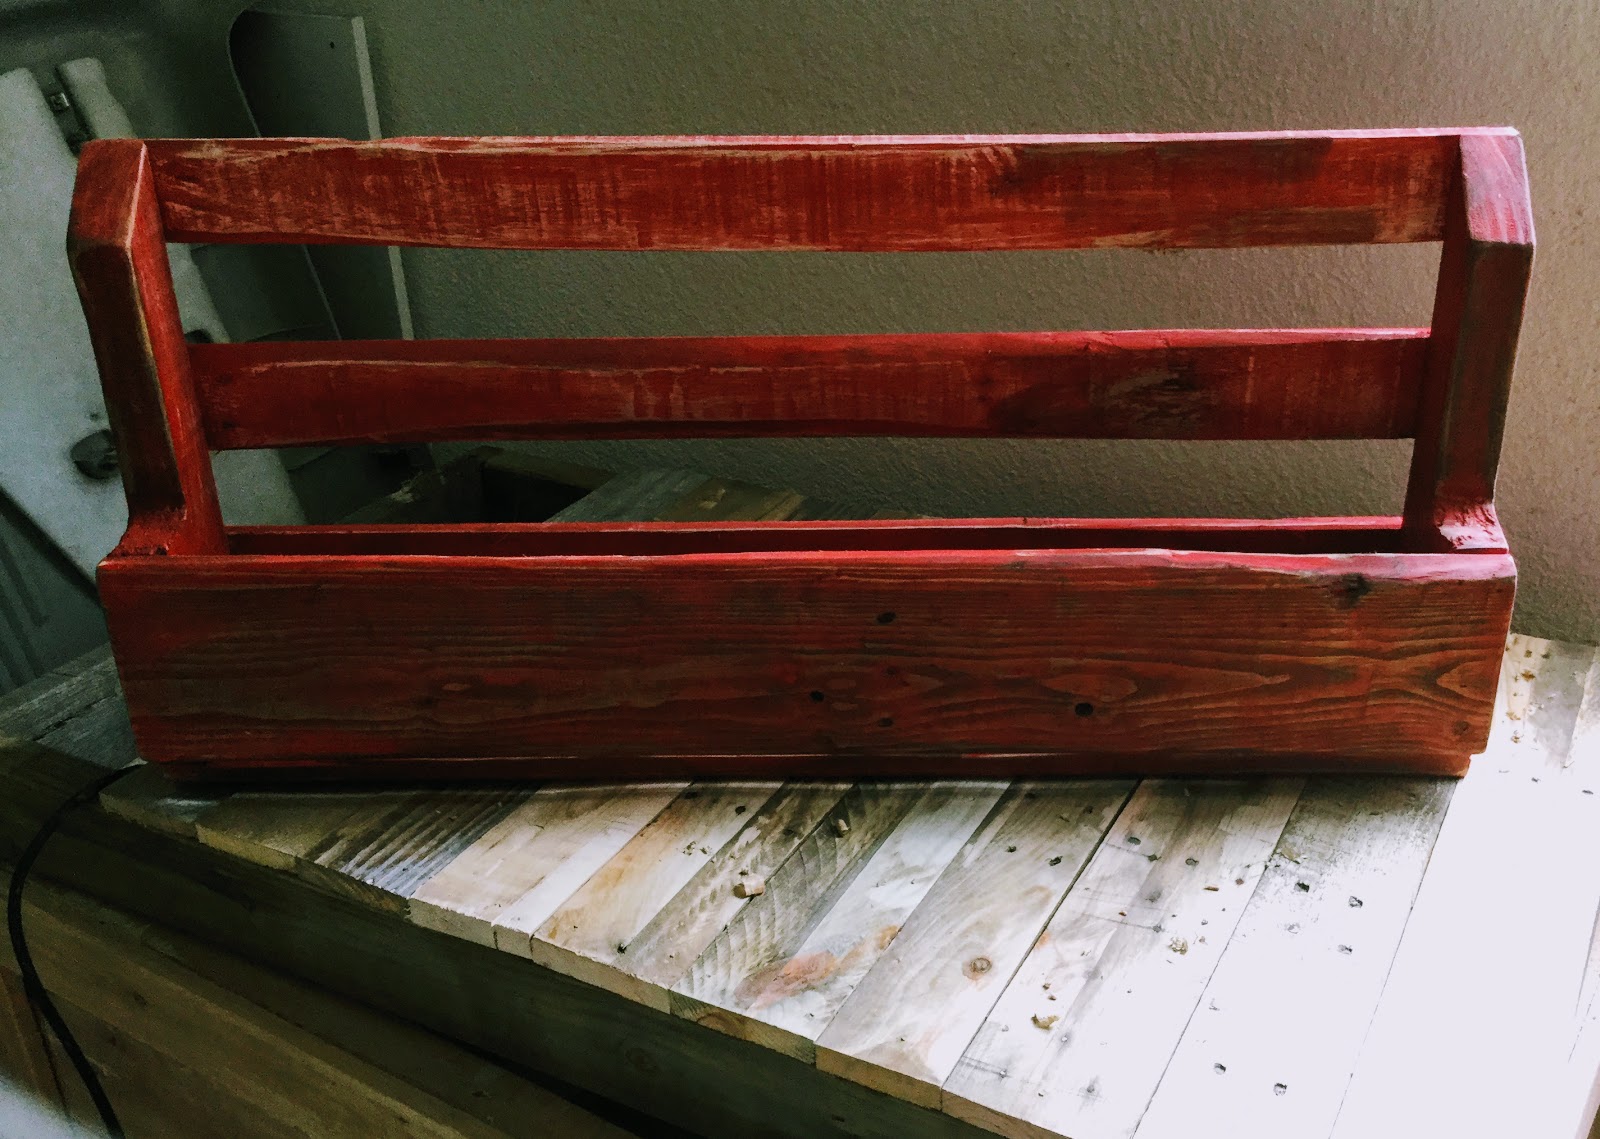
Rustic Wine Bottle Rack


Rustic Shabby Chic Bottle Rack
For the beverage connoisseur I made this little project. Total time, less than a day. Two days in all when you factor in the paint and sand job I did to give it the shabby look.


The pallets you find with the cutouts for forklifts are the best, because they give the variety to your strut boards. I mitred the ends off, and sanded them down just enough to make them smooth.

I purposely found wood that had a few nicks and blemishes so the whole thing would have that farmhouse look. I didn't want this to be anything but rustic. Not totally my style, but I can appreciate it. Also, I promptly posted this for sale so the end customer in mind who is looking for something like this is my target consumer.

All in all, it was as easy at it looks. I did take a bench plane to the face board to scrub it down so I didn't waste all day sanding it. A few passes with a sander and it was good to go. I also ran the plane over the edges at an angle to get that bevel look. Another few passes with the sander at they rounded out just right.

Next I took a can of apple red paint and poured it in a solo cup, added some water to thin it down to a stain and brushed it on.

Aside from the face board, I didn't sand much on the rest of the wood before I painted. I wanted to have something to sand off after the paint dried.

The thin coat of red looked great after it dried, so I took my oscilating tool with a medium sand paper and ran it over the wood.

The unsanded boards came out great, as the rough parts sanded off, the grain was left stained red, and a little wood is showing. I think that really made it pop.

I also sanded along the edges to expose some wood and really get it to look old and worn.

Usually I would say to sand by hand after painting but I think I managed to get a feel for using power tools with just enough pressure to get the look I wanted without going too far. .

A few hours down and I'm all set.

Here's the finished product


If you love it or hate it..leave a comment below!

10.24.2016

Quick Rustic Sign

Here's an easy one. Stencil a sign using a ballpoint pen.

It will leave an indent in the wood that you can paint or ink in.

This is a small one, but the same technique can be used on larger ones. A scrap board I had became the canvas.


Leave your comment below!


Alpha BRAIN by Onnit

10.14.2016

Custom beer coaster

Enjoying my beverages is a big part of my creative process. It's tradition and I take it seriously. So it occurred to me that I need proper coasters to set my drink down on.

I made a decorative and functional set of coasters for just a few dollars. A can of modge-podge, a brick of clay and some felt. With some beer boxes I had saved I had all the required equipment.

Pro tip: glaze the top with acrylic clear coat to make an even better, more durable surface.

Mold the tile size you want, glue felt to the bottom, a cut out from the beer box on top for a graphic, and brush on modge-podge. Let dry and you're done.

Here's the finished product:

Questions? Leave a comment!


WildHogHits.com - Where Your Ride Begins And The Traffic Never Ends!